I decided last year sometime that I really wanted to knit an afghan. “It will be fun,” I said. “It won’t take that long at all!” I said. Uggh, I really need to quit listening to myself, because so far this process has been more like me-curled-up-in-the-corner-gross-sobbing while I try to knit. It’s not pretty.
When I went trolling through Ravelry for project inspiration I found this: Burridge Lake Aran Afghan. I will warn you now, the chart for the middle panel is incredibly wrong. The pattern maker claims there is an updated chart somewhere, but I have yet to find it. Lesson learned, read the comments before you start. I think I started this project at the beginning of August 2013 and I finished the first part sometime mid-December. One repeat of the Saxon Braid could easily take me 4 hours. I am going to try to finish the whole thing by the end of the year. (Kill me now). I kid. I actually love cabling. I don’t know why. I think it’s because it makes everything look fancy and complicated but again it is a technique that I don’t find hard to do.
And the end result so far has been worth it:

Cat conveniently sitting on it for size reference.
I had to take that picture in my hallway it’s so long. I plan on using it as a bedspread when it’s done.
Some sexy (albeit terrible) close ups (seriously we have the worst lighting in my house):
 This is the Saxon Braid and you must do it 24 times. It takes forever, however, it’s pretty amazing when it’s done.
 This is the best picture I have of the Trinity Stitch. It’s a bobble technique and because it involves a lot of K3Tog, M3, I somehow managed to drop about 4 stitches one one side of the panel for a solid 20 rows. I had to have a small conversation with myself:
“Well….we screwed up”
“Yes we did.”
“How much of a perfectionist are we?”
“Not enough to rip out a week’s worth of work for 4 stitches.”
“I’ll allow it.”
I’m so agreeable with myself. I’m also pretty sure that I can probably block the weirdness out of the small section of panel as well.
And finally:
 Woven Braid cabling on the edges of the panel. So simple and yet I think it has the nicest overall effect.
For this project I have been using Knit Picks Wool of the Andes Bulky Yarn in the color Cadet.
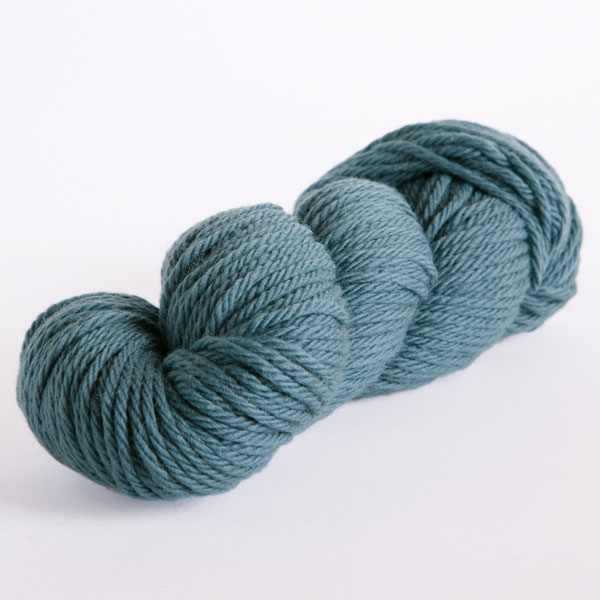
Image from knitpicks.com. This image belongs to them.
I’m such a huge fan of vintage palettes. Or what I think of as vintage palettes, you know, sort of muted washed out colors–this kind of blue, mustardy colors, etc. The best part about using wool for this kind of project is that I can Felt Join, which may be the single greatest thing that has happened to me in my life. Tutorial here. (I just use regular water and I don’t really bother tapering, but this is a good starting point for the technique). I am so happy that I will have no ends to weave in at the end of such a large project.
The only other hang up is that when I was ordering yarn and trying to convert from the yarn the pattern maker used to the yarn I am using I ended up not buying enough yarn. But since I know how many skeins it takes to knit this panel (you make a second one just like it for the other side of the middle panel) I will be able to better estimate how much yarn I need once I finish up as much of the middle panel as I can. I will hopefully have an update on the middle panel soon.
XOXO


